

Table of Contents
ToggleMigrating a website from one platform to another is always a complex process – one that requires careful planning and execution. If done hastily or without a proper strategy, it can lead to disastrous consequences.
Today, we want to share a real-life case study that illustrates just how critical it is to get this process right.
Key Takeaways
- Website migration is a high-risk, high-impact process – without proper planning, you can lose traffic, rankings, and conversions.
- Always back up your current site before making any major changes – including databases, media files, and settings.
- Crawl and map existing URLs to ensure redirects are in place and no key pages are lost post-migration.
- Keep tracking and analytics in place – update Google Analytics, Search Console, and test conversions.
- Test the new site thoroughly in a staging environment before going live – check links, forms, speed, and mobile experience.
- Monitor performance closely after launch, including crawl errors, rankings, page speed, and traffic behavior.
- A detailed migration checklist reduces risk and ensures a smoother transition without hurting SEO or UX.
How Not to Migrate a Website from WordPress to Shopify
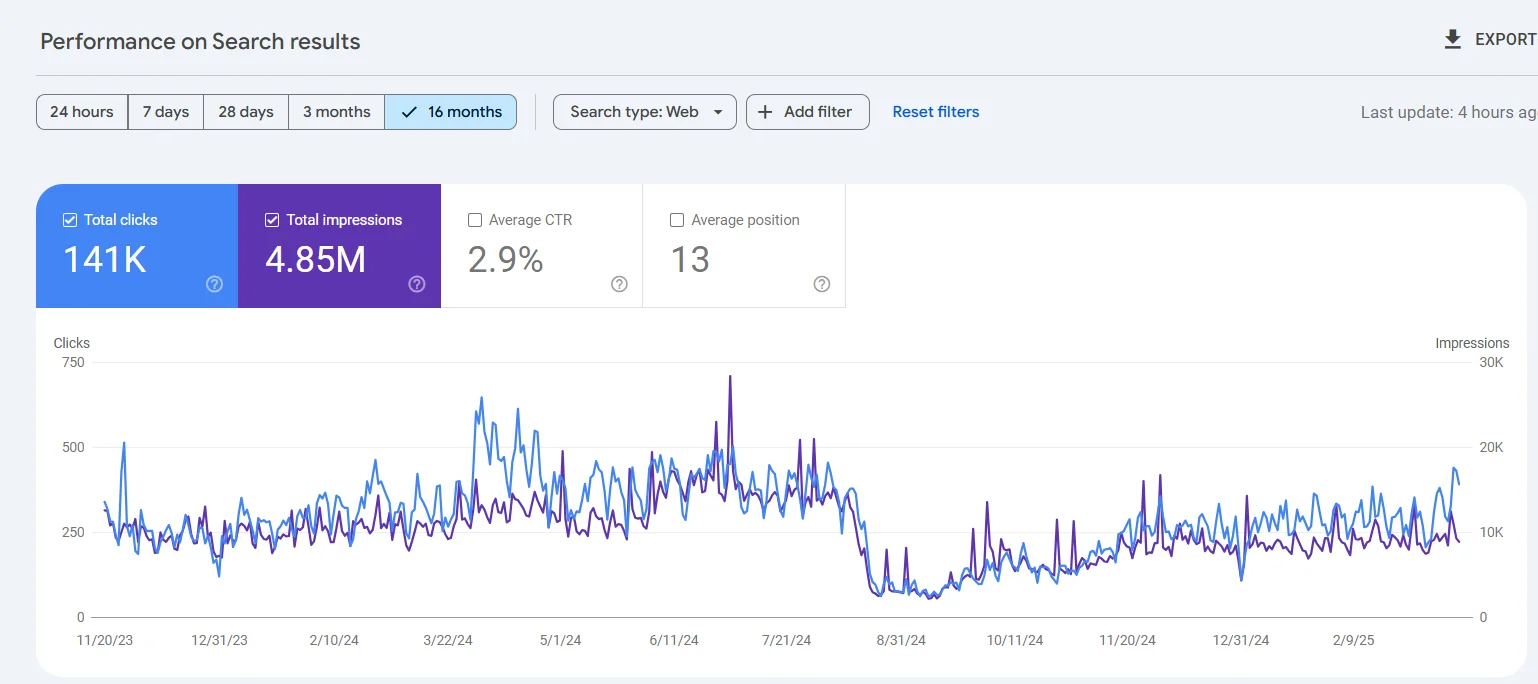
Our client, an online store specializing in home appliances, had a solid digital presence before the migration. Their website consistently attracted between 8,000 and 14,000 visitors per month, ranked on the first page for top-performing keywords, and boasted a strong Domain Rating (DR).
The original site was built on WordPress using WooCommerce and supported two language versions, carefully optimized for SEO and user experience.
However, due to internal corporate decisions, the client opted to migrate the website to Shopify. That’s when the problems began.
The website migration was not coordinated with our team, and the preparation for the transition was, unfortunately, inadequate. Instead of a structured and strategic approach, the products were simply uploaded to the new Shopify site via an XLSX file – and the site was launched as-is.
The results were nothing short of catastrophic: traffic and conversions plummeted to nearly zero, GA4 analytics lost a portion of its data, all custom event tracking in Google Tag Manager was wiped out, and the site’s search engine rankings took a significant hit.
To make matters worse, we lost the local landing pages we had previously created to target city-specific search queries – pages that had been consistently driving qualified traffic to core product categories.
And it didn’t stop there. The paid ad campaigns – which hadn’t been paused during the migration – ran into major issues due to drastic URL changes and the inability to track conversions.
What we’re left with is a long and resource-intensive recovery process for a once-thriving online store. This ongoing effort demands a huge commitment from our content managers and SEO specialists, who are now working to regain lost visibility, traffic, and performance.

Mistakes Made During the Website Migration:
- Page URLs Were Not Preserved, and Redirects Were Not Set Up - Old URLs were not redirected to their new counterparts, which led to a significant drop in traffic and a loss of search engine rankings.
- Meta Tags, Texts, and Translations Were Not Transferred - Without properly migrating meta-data and content in both languages, important SEO elements were lost.
- The Blog Was Not Migrated - Content blocks, articles, and valuable materials remained on the old site, which negatively affected SEO.
- Analytics and Conversion Tracking Systems Were Not Migrated - The analytics system used on the old website was not integrated into the new one, leading to data loss.
- Internal Linking Was Lost - All internal links between website pages disappeared, which harmed navigation and reduced the site’s visibility to search engines.
- Pages Created for Local Search Queries Were Lost - As a result, a significant amount of traffic from local keywords was lost.
- robots.txt Was Not Configured Properly - The robots.txt file was not set up correctly, which made it difficult for search engines to index the website.
So, What Should Be Done to Ensure a Smooth Website Migration?
“The fewer structural changes you make during a website migration, the better your chances of preserving search rankings.”
Website Migration Checklist
What You Should Do to Ensure a Smooth Website Migration:
1. Back up the old website
Before starting any migration, always create a full backup of your current site and keep it for at least one month after the migration is complete. Ideally, make the old version accessible via a separate IP address (or keep it live temporarily) so you can quickly revert if SEO issues arise.
2. Block the unpublished version from Indexing
The staging domain where your new website is hosted should be blocked from being indexed by search engines. This can be done via the robots.txt file, server settings, or the CMS admin panel. For extra protection, consider using a login screen or password protection.
3. Minimize structural changes
The fewer changes to site structure, the greater the chance of maintaining current search engine rankings.
Preparing for the Website Migration:
1. Page URLs
- Whenever possible, keep existing URLs for key pages and categories.
- If URLs were already changed previously, make sure all existing redirects are transferred to the test site.
- If URL preservation isn’t feasible, define a clean new URL structure (use Latin characters, avoid dates).
- Create a 301 redirect map and implement it on the new site. For pages that won’t be migrated, redirect to the most relevant new equivalents.
2. Content Migration:
- Transfer all main content - including text, images, and videos — to the corresponding pages on the new site.
- If you’re creating new pages, build and populate them on the staging site in advance to boost visibility after launch.
3. Meta Data Migration:
- Move meta titles and descriptions from the old site to their corresponding new pages.
- For any new pages, prepare optimized meta-data ahead of time.
4. Basic Technical Recommendations:
- Optimize page load speed.
- Compress images and ensure proper server response codes.
- Set up canonical URLs and structured data.
- Apply 301 redirects as needed.
5. Robots.txt File:
- Create a new robots.txt file that ensures proper indexing.
- After conducting a site audit, adjust the file to block dynamic or unnecessary pages.
6. Sitemap.xml:
- Generate a new sitemap and verify its content (pages, categories, posts).
- Ensure it's set up for automatic updates.
7. Analytics Setup:
- Install tracking codes (Google Analytics, Google Tag Manager).
- Transfer and reconfigure analytics and conversion tracking on the new site.
8. Thorough Testing of the Staging Site:
- Perform a full technical audit and fix any detected issues.
- Check the design, UX, functionality, and mobile responsiveness.
9. Notify Your Advertising Team:
- Let your advertising specialists know about the upcoming changes so they can review ad accounts and update campaign URLs and goals.
What to Check After Migrating a Website to a New Version
1. Backup of the Old Website
Before website migration, a full backup of the old website must be created and stored for at least one month after the transition. Ideally, keep the old version accessible via a different IP address (or the original one), so you can quickly revert to it in case of serious SEO issues.
2. Notify Your Advertising Specialist
Inform your advertising specialist about the website migration so they can check the ad accounts and update campaign settings according to the new URLs.
3. Block the Old Version from Indexing
The old version of the website must be blocked from being indexed by search engines. This can be done via the robots.txt file, server settings, or CMS settings. It’s also recommended to block the site with a placeholder or password protection to prevent it from being re-indexed.
Post-Migration Website Checklist
1. URL Check
Verify that all URLs are present on the new site. Ensure no pages are missing, and that there are no duplicate or broken links. Also, check that URLs are being generated correctly.
2. Redirects Check
After the migration, test whether 301 redirects are working properly. Visit key pages on the site and randomly test pages across all categories.
3. Robots.txt File
Check the robots.txt file. The site should be open for indexing, but low-value or technical pages must be blocked. After conducting an audit, add the necessary rules and update the file in Google Search Console.
4. Search Engine Indexing Permissions
In the CMS, ensure that the site is allowed to be indexed by search engines. Check the robots meta tags on each page type to confirm they are correctly set up.
5. Sitemap.xml
Check the functionality of the sitemap.xml file. Make sure there are no links pointing to the staging site. Update the sitemap to include only live site pages, and configure it to auto-update daily. Ensure there are no redirect URLs in the sitemap.
6. Forms, Phone Numbers, and Messengers
Test all contact forms, phone numbers, and messenger integrations to confirm they are working without issues.
7. Internal Links
Make sure that no internal links point to the staging site (including in menus and internal linking). Confirm that canonical tags are up to date and do not reference the staging site.
8. Analytics
Verify that all analytics are working correctly. Make sure all tracking codes were properly transferred and that all events are being tracked as expected.
9. Site Audit
After website migration, perform a full technical audit of the new site. Confirm that everything is functioning properly and that there are no technical errors.
10. Sitemap.xml in Google Search Console
Once the site is live and all checks are complete, update the sitemap in Google Search Console so search engines can crawl and index your site more efficiently.
Website migration requires careful preparation to avoid traffic loss, search ranking drops, and other costly setbacks. When planned and executed correctly, moving to a new platform can be seamless – helping your site grow while retaining visibility and performance. To ensure a smooth transition, you can follow our comprehensive website migration checklist or consult a professional digital agency for expert support.
Also you can read:
Using GoDaddy Website Builder: What No One Tells You
Why You Shouldn’t Host Videos Directly on Your Website – 5 Reasons